I. Introductory Section
In metal fabrication, the development of press brake technology is becoming more and more critical, especially the training for its operation skills.
Our passage aims to delve into the professional training of the press brake. This is not merely for technology transmission but for overall improvement of safety and efficiency.
Press brake training is not only related to the personal skills of operators but also to product quality, production efficiency, and the operator's safety.
Improper operation may cause production accidents and affect the final precision and appearance of the product.
Therefore, professional press brake training becomes the key to ensuring safe working and highly efficient production.
Our passage will start with the basic concept of the press brake, the choice of training course, safety protocols, maintenance training, and so on. I hope it will be beneficial to you.
II. Understanding Press Brake Machinery
Definition and function
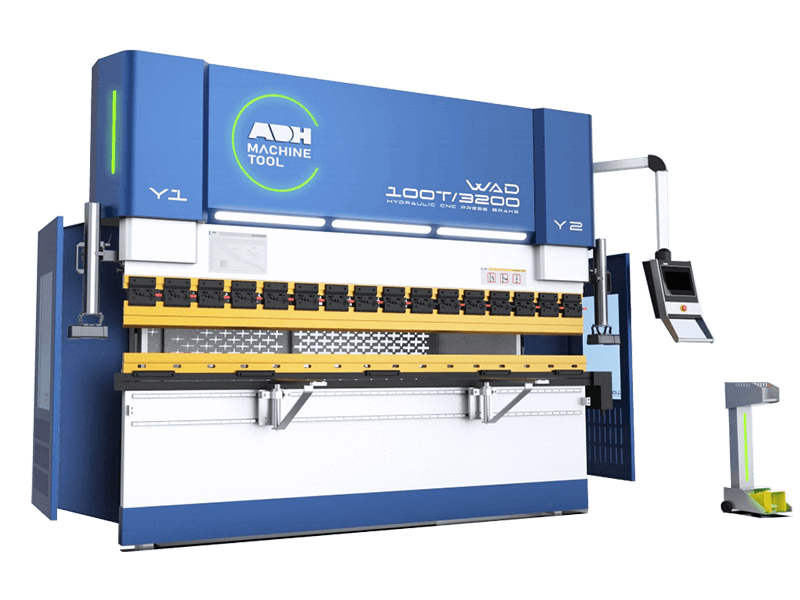
Press brake is a device used for bending and forming metal sheets. It is made up of upper dies and bottom dies and makes the metal sheet bend and deform into the required angle and shape through exerting pressure.
The primary function of the press brake is to achieve precise bending, thus ensuring the metal sheet is in the required shape and size.
Types
Press brake is divided into three types based on the driven approaches:
Mechanical press brake: it exerts pressure through the mechanical transmission system (like crankshaft, gears, and connecting rods). It features a simple structure, low cost, and relatively slow speed and precision.
Hydraulic press brake: it uses a hydraulic cylinder to generate the pressure. It is better than mechanical press brakes in precision and force and is suitable for mass-scale, high-precision bending requirements.
Electric press brake: it uses a servo motor to control the bending force. The electric press brake performs well in speed, precision, and energy consumption and is suitable for fine processing.
Key Components
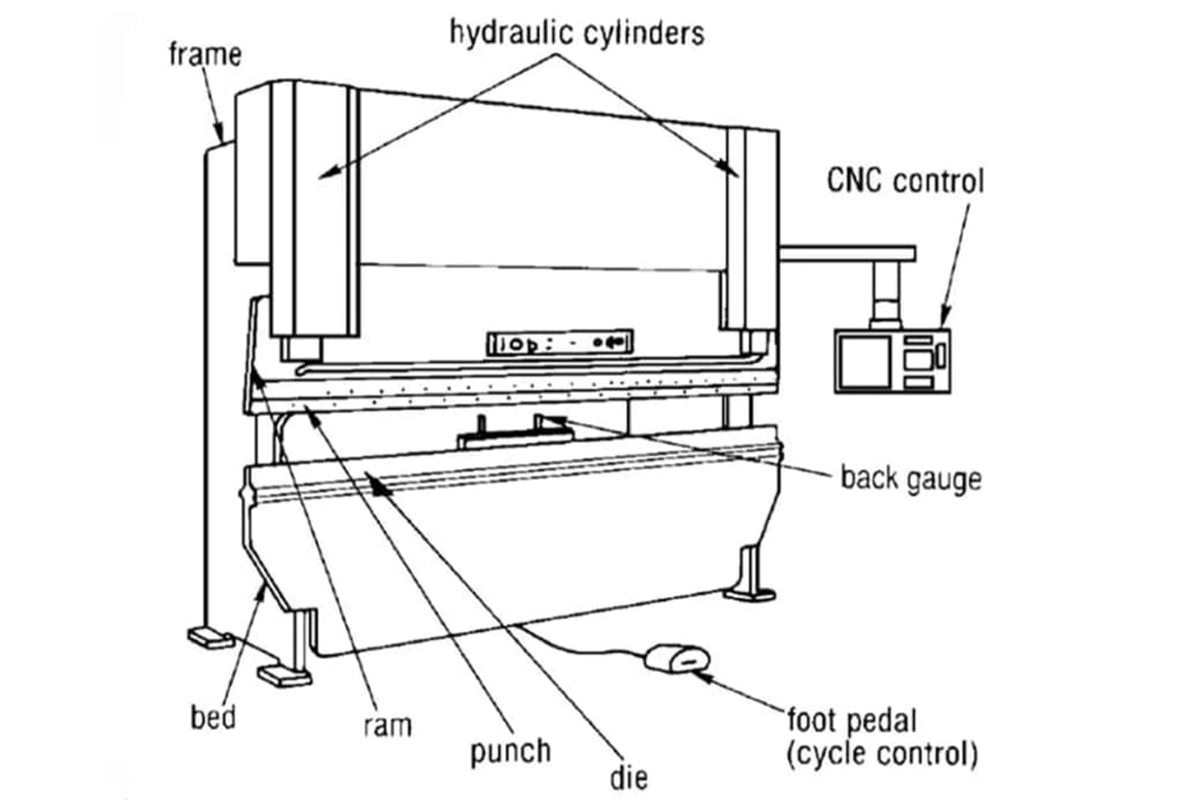
Bed: as the main frame of the machine, it bears the weight of the whole machine and ensures stability during the processing period.
Ram: it exerts pressure on the metal sheet during the bending process. The precise control of the ram directly affects the bending quality.
Die: the die is usually made up of the upper and bottom die, which are used to form the specific bending shape. The design of the die and material is essential for processing precision and product quality.
Backgauge device: it is used to position the sheet to ensure bending precision and repeatability.
Control system: it is the brain of the press brake and is used to set and control the processing parameters, like pressure, speed, and location.
III. Getting Started with Press Brake Training
Prerequisites for press brake training
Basic mechanical knowledge: it is necessary for operators to know a lot about the operation brochure and understand the basic mechanical principles and operation, which may help them quickly understand the working way. Also, the operator should be able to do basic mechanical repairs and adjustments.
Math and measuring skills: the operator can possess basic math calculation and precise measuring, which may be very beneficial for precision during bending.
Safety awareness: the operator should basically know the safety regulations of the working environment and be able to obey the safety operation procedures.
Basic computer operation ability: possessing the basic computer operation ability is beneficial because the modern press brake may include the computer control system.
Overview of standard training curriculum
Press brake basic knowledge: introduce the type, structure, working principle, and critical parts.
Operation skill training: operating the press brake in practice includes setting parameters, replacing dies, positioning sheet, and controlling the operation process.
Programming and control system: learn how to use the press brake system of programming and controlling, including the NC and CNC systems.
Quality control: understand the criteria of the press brake quality and learn how to check and maintain the product quality.
Safety operation: the critical training includes proper operation procedure, identifying potential risks, emergent measurements, and using a personal protective device.
Daily maintenance and troubleshooting: learning the daily maintenance procedure of the press brake and basic troubleshooting techniques
Practical internship: the operator can improve practice skills and understand the difference between theory and practical operation through practical training.
IV. Choosing the Right Press Brake Training Program
Factors to consider
The relative of the training content: ensure the training content matches your actual needs and working contents. For example, if you use the CNC press brake, the training content should focus on the CNC operation and programming. Ensure it covers all the essential topics, such as safety operations, daily maintenance, and troubleshooting.
Training institution and experience: choose the training institution with a good reputation and experience. This usually means higher quality teaching and education resources. These institutions cooperate generally with the advanced industry business, ensuring the training content is practical and forward-looking. Reference the reviews and feedback from past students, and know about the effect and teaching quality.
Balance the practical operation and theory learning: the ideal training should contain adequate practical opportunities and the necessary teaching approach to ensure the learner can master comprehensive skills. There should be multiple press brake machines with different functions for operators to simulate work scenarios and practice. Meanwhile, the theory class should not only illustrate the press brake principle knowledge but also involve industry regulations and safety standards. Programming the internship program should take different levels and times of operation, allowing the students to master multiple operation skills of machine tools.
Certification and qualification: you should take the training course offering industry certification and qualification into consideration. This can prove your ability and may be a requirement for some jobs.
Training method: choosing face-to-face or online training according to personal preference and availability. Nowadays, many training courses offer flexible online learning options.
Fees and investment reward: consider the training fees and your expected investment reward. Some expensive courses may offer deep learning and advanced resources.
Follow-up support and resources: an excellent training institution usually offers follow-up support, such as continuous learning, online resources, and consultant chat.
Excellent teaching staff: this is the core of the press brake training program. The teacher should possess an abundant industry background and be skilled at various operation movements. Personal guidance is also very important.
Top training programs and institutions
Professional technical colleges and vocational schools: these schools usually offer comprehensive metal fabrication technique training, which includes press brake training.
Industry associations and organizations: such as the Metalworking Industry Association. It may provide specialized press brake operation and maintenance training.
Training provided by the manufacturer: many press brake manufacturers offer specialized training courses specific to their equipment. These courses usually are very detailed and practical.
Online courses and remote learning: some institutions provide online courses, which is a good choice for people who need flexible learning time.
Private training and consultant company: some companies offer custom training solutions, especially suitable for personnel or enterprises with specific needs.
Certification Processes and Benefits
Certification process: this process usually includes theory learning, practical operation training, and tests. After the test, the trainee will acquire certification to prove the professional skills they possess accordingly.
Advantages: certification can not only prove the level of personal skills but can also be a big step for career development. It can strengthen the trust of employers and clients in technicians, which may help in career advancement and salary increase.
V. The Importance of Proper Training
Safety considerations in press brake operations
Prevent accidents occur: if the press brake is not operated well, it may cause severe safety accidents, such as hand injuries. Proper training can teach the operator the correct operation and corresponding solutions when an emergency occurs.
Know the equipment restriction: knowing the press brake performance and limitations is the key to operating safely. The operator can understand the working principle of the equipment and avoid overloading uses, thus reducing the risk of equipment malfunction.
Maintenance and checking: regular machine maintenance and checking are of vital importance to keep the machine in good condition. Through the training, the operator can learn how to maintain and troubleshoot potential issues correctly.
Impact of skilled training on product quality and efficiency
Improve the product quality: the skilled press brake operator can control the bending angle and position more precisely, which is pivotal to ensuring product quality. Excellent operation skills can significantly reduce product drawbacks and reworking rates.
Improve production efficiency: the press brake operator with good training can utilize the press brake efficiently, which may reduce the spare time and malfunction rate. This may directly influence the efficiency of the production line and overall production cycle, reducing the production cost.
Innovation and improvement: the operator can not only perform daily routines but also find ways to improve the production process. Their professional knowledge and experience are the key to optimizing the production procedure and improving the product quality.
Training ensures skill inheritance: professional skills need long-term accumulation and inheritance. The complete training system allows for skills to be passed and applied.
VI. Press Brake Safety Protocols
Essential safety guidelines
Wear proper work clothes: the operator should wear tight work clothes and should avoid loose clothes or decorations, avoiding the goods being sucked into the machine.
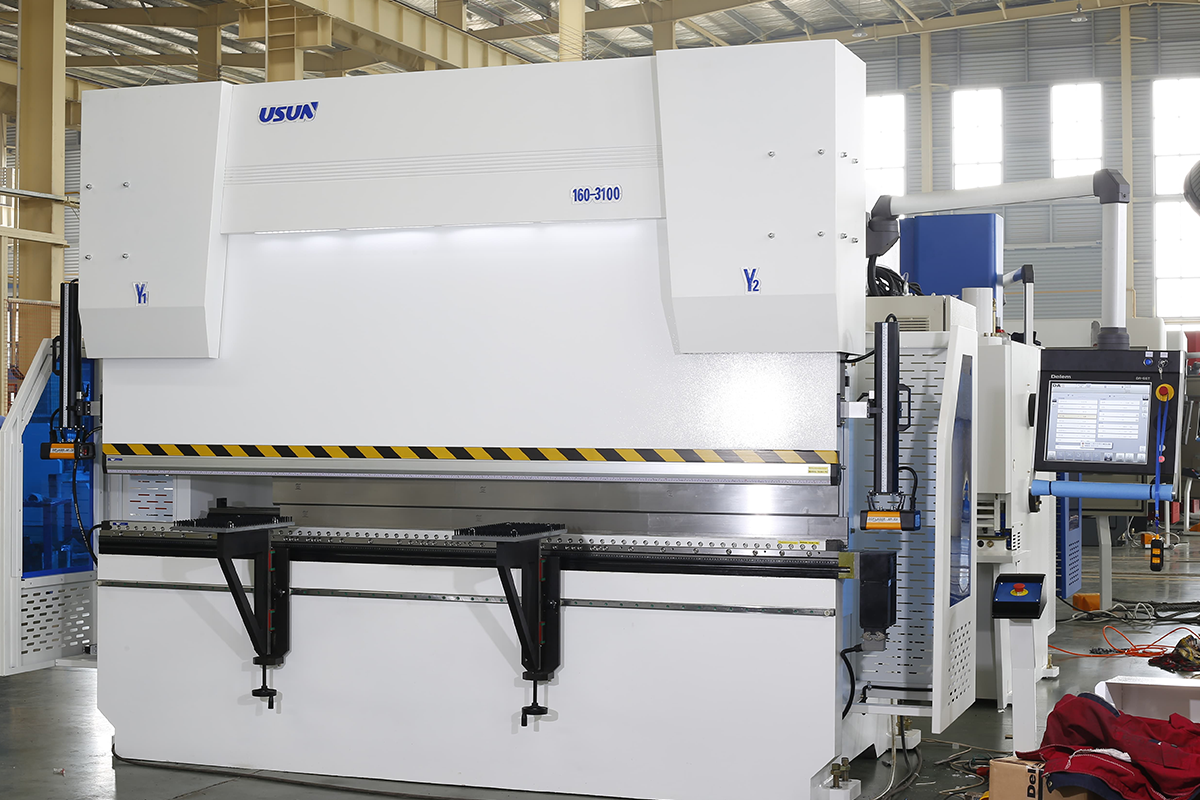
Using safety protective devices: ensure all the safety protective devices are in good condition, such as linear scale, emergent stop button, etc.
Know the operation procedure: before operating, the operator should know about the machine's operation procedures and control system.
Keep the working area clean and organized: the working area should be kept clean, with no debris, to avoid the risk of falls and slips.
Check and maintain the machine: the operator should check and maintain the device daily to ensure regular operation and safety.
Common mistakes and how to avoid them
Do not check before operation: if the operator doesn’t check the machine in advance, it may lead to unpredicted risks. The operator should check the machine's working state and safety device.
Ignoring the safety protection measurements: unusing and prohibiting the safety protective device is a common mistake during the operation. Always keep the safety device in running condition.
Distraction operation: if the operator is distracted, it may cause an accident. When operating, the operator should avoid other activities together.
Improper gesture: using improper gestures to operate may cause body injure. The operator should learn and keep correct operating gestures.
Ignore training and guidance: the operator who does not accept training and guidance makes it easier to make mistakes. Ensure all the operators have received adequate training and guidance.
Besides, keep away from the die, and do not enter dangerous areas when the machine is working. Never modify the safety device or parameters at will.
VII. Press Brake Maintenance Training
Routine maintenance tasks
Cleaning the equipment: clean the machine regularly, including the machine surface and working area. This may be beneficial to prevent dust and slice accumulation, resulting in machine failure.
Lubricate moving parts: check and lubricate all the moving parts regularly to ensure smooth movement and reduce wearing.
Check and replace worn parts: regularly check the easily worn parts, such as blades and dies. Changing them when necessary to keep their best performance.
Software renovation and calibration: ensure all the press brake software is new, and calibrate the machine regularly to ensure accuracy.
Safety device checking: check the press brake safety device regularly, such as the linear scale and emergent stop button, to make sure it's in good condition.
Troubleshooting common issues
Machine precision descending: if you find the press brake is inaccurate, it may be because the blade is worn or the system needs to be recalibrated. Check and replace the worn parts and calibrate the system.
Abnormal sound: if the machine makes a strange sound during the operation, the operator should stop the machine immediately and check the guide rail and gearwheel. It is caused by loose parts and lack of lubrication.
Operation delay or reaction not well: this is caused by the control system. Check the software setting and electricity connection.
Overheat problem: if the machine is overheated, it may be caused by overuse and an insufficient cooling system. Ensure proper use frequency and check the cooling system.
Safety setting failure: if the safety device doesn’t work, you should stop using the machine immediately and check the machine. The failure of the safety device may cause severe safety risks.
VIII. Conclusion
Our passage introduces the knowledge of press brake training to guide you to pay attention to professional skills training.
It is pivotal for enterprises and employees who use press brakes to gain comprehensive training, consistent learning, and skill development.
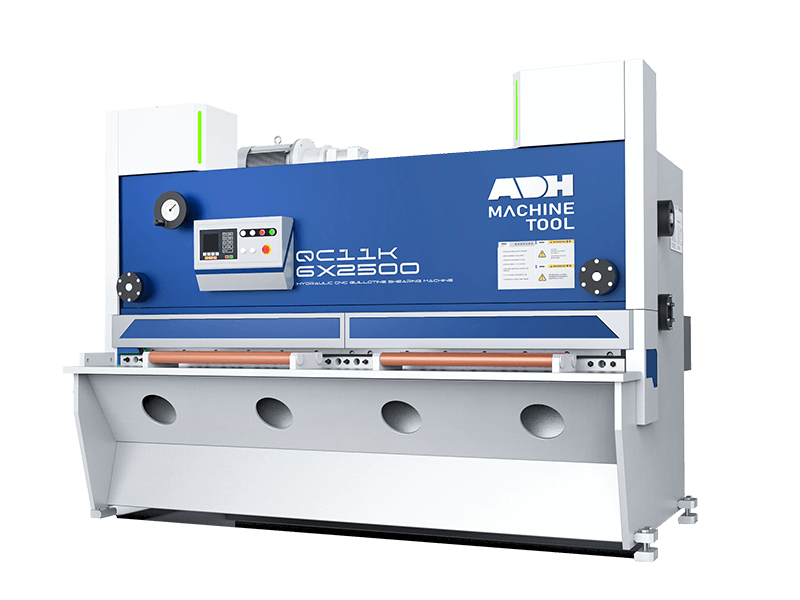
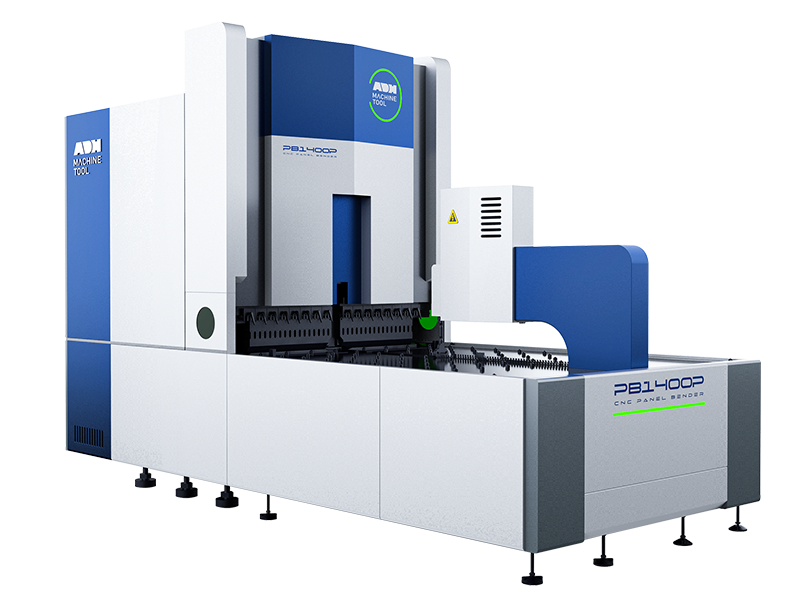
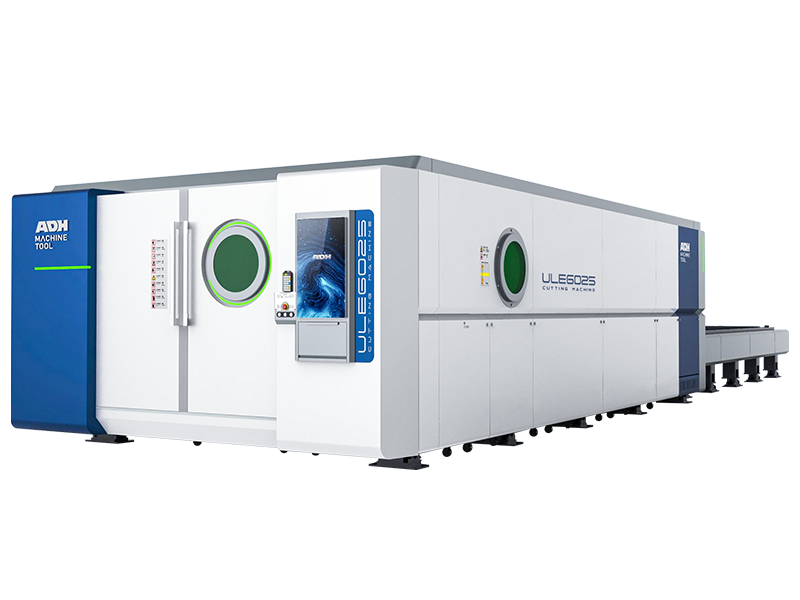
ADH Machine Tool is a press brake manufacturer with skilled workers, professional technicians, and responsible after-sales personnel.
You can contact us for the machine details or visit the official website for knowledge learning.

 English
  Arabic
  German
  Spanish
  French
  Portuguese
  Japanese
  Russian
  Chinese